
Lawn
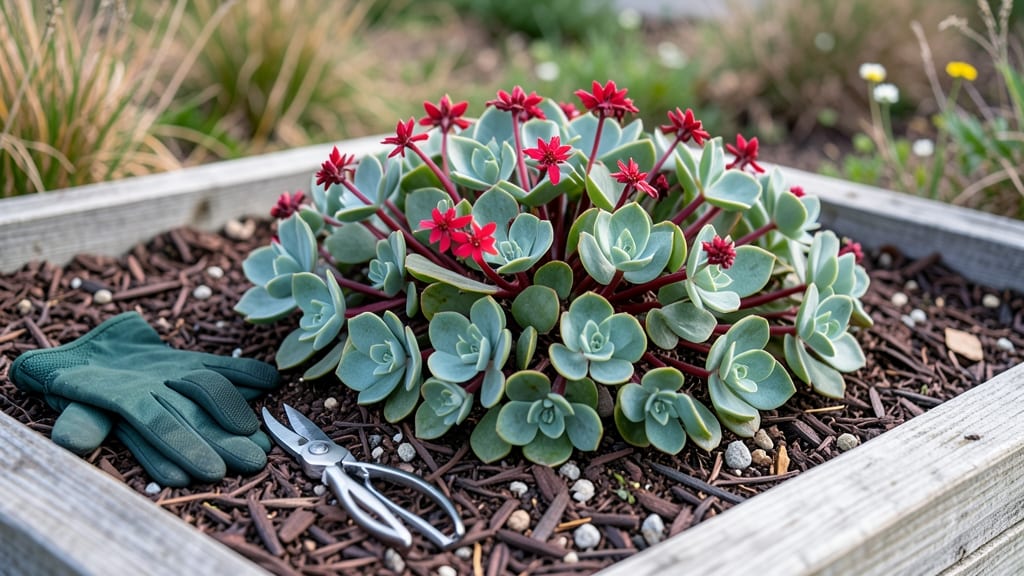
Replacing your lawn with drought-tolerant ground cover 🌿 saves water, cuts maintenance, and still looks beautiful—without the mowing, fertilizing, or endless watering.
Picture this: no more weekend afternoons spent wrestling with a lawnmower, no brown patches begging for water, and a yard that thrives even when you forget to check on it. That’s the magic of the right ground cover mix—one that stays green, spreads easily, and fits your climate.
Whether you’re in a dry Southwest or a humid Southeast, there’s a low-maintenance alternative that replaces grass while keeping your yard lush and functional.
I’ll walk you through the top 7 options, how to swap out your old lawn without killing your soil, and the secret to keeping it looking effortless year after year.
Ready to ditch the grass? Let’s turn your yard into a water-smart, low-stress landscape that actually works for you—starting with the perfect ground cover for your space.
Top 7 drought-tolerant ground covers for water-conscious lawn replacement
If your water bill and weekly mowing are draining your patience (and wallet), it's time to ditch the traditional lawn. Drought-tolerant ground covers deliver the same green aesthetic with 90% less water and near-zero maintenance.
These hardy plants spread quickly, suppress weeds, and thrive in USDA Zones 3-10, making them perfect for any climate. Below, I’ve ranked the top 7 performers based on water needs, sunlight tolerance, and ease of care—so you can pick the best fit for your yard.
My top recommendation? Creeping thyme for sunny areas and sedum for versatile shade tolerance. Both require almost no water once established and handle foot traffic surprisingly well.
But before you pick, let’s compare them all—including clover (yes, it’s a ground cover!) and ice plant for hot, dry climates—using my go-to comparison table for quick decision-making.
From the table, you can see creeping thyme and ice
How to transition from lawn to ground cover without killing your yard
Switching from a traditional lawn to drought-resistant ground cover is easier than you think—and it’ll save you time, water, and backaches. The key is a smooth transition that protects your soil while replacing grass with hardy, low-maintenance plants.
I’ve learned the hard way that rushing this process can lead to weeds or patchy growth, so let’s break it down into manageable steps to ensure your yard thrives.
Before you dig, choose a ground cover that matches your climate and sunlight. For example, creeping thyme thrives in full sun and dry soil, while ajuga (bugleweed) handles partial shade beautifully.
Test your soil’s pH and drainage—most ground covers prefer 6.0–7.0 pH and well-draining soil. If your yard is compacted, aerate it first to give roots room to breathe.
Step-by-Step Transition Guide
- Step 1: Smother the Grass
Lay down cardboard or thick layers of newspaper (no glossy ink) over the lawn, then wet it thoroughly. This blocks sunlight, killing grass in 2–4 weeks without chemicals. For stubborn weeds, add a mulch layer (straw or wood chips) on top.
- Step 2: Till or Loosen Soil
Use a rototiller or broadfork to break up the top 6 inches of soil. This helps roots penetrate easily. If your soil is heavy clay, mix in compost or sand to improve drainage. Aim for a loose, crumbly texture—like cake batter, not concrete!
- Step 3: Choose & Plant Ground Cover
Select native or drought-tolerant species for your zone. For example:
- Creeping thyme – Full sun, drought-resistant
- Sedum – Thrives in poor soil, handles heat
- Clover – Fixes nitrogen, great for foot traffic
- Step 4: Mulch & Suppress Weeds
Apply 2–3 inches of mulch (straw, pine needles, or shredded bark) to retain moisture and block weeds. Avoid thick mulch layers—too much can suffocate young plants. Replenish mulch annually to maintain coverage.
- Step 5: Water Wisely
Keep soil moist but not soggy for the first 4–6 weeks. Water deeply 2–3 times per week in the morning to reduce evaporation. Once established, most ground covers need water only during droughts.
- Step 6: Maintain Long-Term
Trim back overgrown edges with shears in early spring. Fertilize lightly with compost tea or balanced 10-10-10 in spring if growth slows. Monitor for pests—aphids or slugs are rare but can appear in new plantings.
One of the biggest mistakes I’ve seen is skipping the soil prep step. If you plant ground cover in compacted or weedy soil, you’ll end up with patchy coverage and more weeds.
Take the extra time to till and amend—your yard will thank you with lush, uniform growth. Plus, ground covers spread quickly, so you’ll see results faster than with grass!
Don’t forget to test small areas first if you’re unsure about your ground cover choice. Try a 10x10-foot patch of creeping thyme or clover before committing to your entire yard.
This lets you adjust watering and care routines without risking a full-scale failure. Once you see how it performs, you can expand gradually.
With the right prep and patience, your yard will transform from a high-maintenance lawn to a self-sustaining, water-wise oasis. Imagine no more mowing, fewer weeds, and a space that’s easier on your wallet and the planet.
Start small, follow these steps, and enjoy the rewards of a low-effort, high-impact garden! 🌿