
Lawn
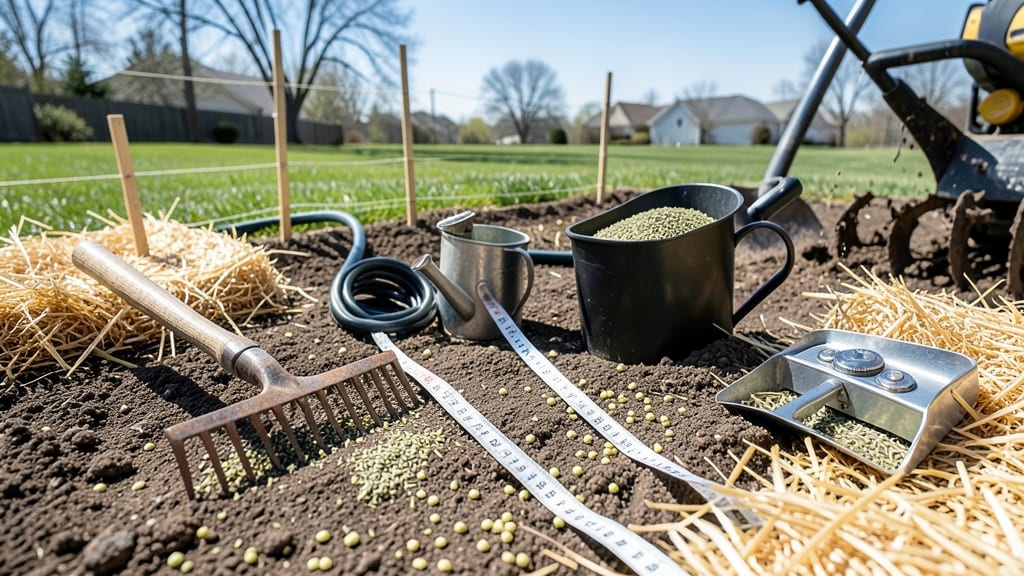
Laying a lawn from grass seed transforms bare dirt into a vibrant green carpet—but only if you skip the shortcuts. 🌱 I’ve seen too many seed packets left to the elements, only to sprout patchy, weak grass that fades by summer.
The secret? Prepping the soil like it’s a blank canvas, choosing the right seed for your climate, and watering with precision. Most people rush the prep work, but skipping soil testing or leveling costs you in the long run.
A properly aerated, leveled base with the right seed mix means faster germination, fewer weeds, and grass that stays thick through droughts. Even in shady spots, the right blend of fescue or bluegrass will outperform cheap seed.
Once you sow, the first two weeks are critical—water lightly but often to keep seeds moist, never letting them dry out.
You’ll see those first blades in 7-14 days, and by month three, your lawn will be the envy of the block if you avoid common pitfalls like over-fertilizing too soon. This method works year-round in mild climates, but spring and fall are ideal for cooler zones.
Let’s get started—your future self will thank you when you’re stepping onto thick, soft grass instead of rocky soil.
📚 In This Guide
- What you need
- Instructions
- Tips and common mistakes
- Wrapping up and next steps
What you need
- ● Grass seed: Choose a high-quality seed blend tailored to your climate (e.g., cool-season for northern regions or warm-season for southern areas). Aim for 8–12 lbs per 1,000 sq ft for new lawns.
- ● Topsoil or seed starter mix: 1–2 inches of loose, nutrient-rich soil to cover seeds (avoid clay-heavy soil).
- ○ Lawn roller (optional but helpful): A 100–150 lb roller to press seeds into the soil for better contact.
- ● Rake (bow or leaf rake): A medium-tooth rake to level soil and spread seed evenly.
- ● Broadcast spreader: For large areas, use a handheld or walk-behind spreader to distribute seed uniformly.
- ● Garden hose with adjustable nozzle: For watering—aim for a gentle mist setting.
- ● Lawn fertilizer (starter or slow-release): ½–1 lb of nitrogen per 1,000 sq ft to kickstart growth.
- ○ Soil test kit (optional but recommended): Check pH and nutrient levels (ideal pH: 6.0–7.0 for most grasses).
- ● Erosion control blanket: Useful for sloped areas to prevent seed washout.
- ● Mulching straw or peat moss: ¼-inch layer to retain moisture and protect seeds from birds.
- ● Lawn edging tool: For crisp, clean borders around your new lawn.
- ● Knee pads or gloves: Because crawling in soil is not glamorous!
- ● Weed block fabric: If your area has persistent weeds, lay it down before adding soil.
Step-by-Step instructions for laying a lawn with grass seed
Here’s my foolproof method for a thick, vibrant lawn that stays lush season after season.
🪴 Step 1: Prepare the Soil for Perfect Seed Germination
Start by removing all existing weeds, rocks, and debris from your lawn area. I use a sturdy rake to pull out weeds by the roots—leaving any behind means they’ll compete with your new grass. Next, loosen the top 6 inches of soil with a garden fork or tiller. This step is critical because compacted soil blocks root growth and prevents water from penetrating.
Test your soil’s pH with a kit from your local garden center. Most grasses thrive in slightly acidic soil (pH 6.0-7.0). If your soil is too alkaline, add sulfur or peat moss to lower the pH before seeding. Once the soil is loose and free of debris, rake it smooth with a leveling rake. You’ll know you’re ready when the surface feels crumbly and even—like a well-tended garden bed.
💧 Step 2: Spread Fertilizer and Grass Seed Evenly
Apply a starter fertilizer designed for new lawns, following the package instructions for coverage. This gives your grass seed an immediate nutrient boost to encourage strong root development. I like to use a broadcast spreader for even distribution—walk in a crisscross pattern to avoid missing spots or overlapping too much.
Next, spread the grass seed using the same method. For a 4,000 sq ft lawn, you’ll need about 8-12 lbs of seed, depending on the variety. Lightly rake the seed into the soil with a stiff-bristled rake, pressing it just enough to make contact with the earth—this ensures good seed-to-soil contact without burying it too deep. A quick test: if you can still see the seed shadows, you’re good to go.
☀️ Step 3: Water Gently and Consistently for Germination
The first 7-10 days are the most critical for your grass seed. Water lightly but frequently—aim for ¼ inch of water per day, split into two sessions (morning and evening). This keeps the soil surface moist but prevents runoff. Use a sprinkler with a fine mist setting or a gentle hose stream to avoid dislodging the seed.
You’ll know you’re doing it right when the soil stays damp 1-2 inches deep but doesn’t become soggy. Once the grass reaches 2-3 inches tall, you can gradually reduce watering to ½ inch per week, letting the roots establish deeper. Avoid walking on the new lawn—wait until the grass is 3-4 inches tall before stepping on it to prevent damage.
✂️ Step 4: Maintain and Encourage Thick Growth
After 4-6 weeks, your lawn should be thick enough for its first mow. Set your mower blade to 3 inches—taller grass shades out weeds and develops deeper roots. Never remove more than ⅓ of the grass blade at a time, or you’ll stress the plant. I mow when the grass reaches 3.5-4 inches to keep it healthy without scalping.
Continue watering deeply 1-2 times per week (about 1 inch total) to encourage deep root growth. Fertilize again in 6-8 weeks with a slow-release, balanced fertilizer to keep your lawn lush. Watch for bare spots—if you see them, overseed lightly and water as needed to fill in gaps.
Tips & tricks for perfect lawn establishment
These game-changing tips will help you avoid common pitfalls and create a lawn that looks like it came straight from a professional landscaping manual.
Soil Preparation Secret: Don't rush the soil prep in Step 1! I've seen people skip the 6-inch tilling because it's tedious, but compacted soil is the #1 reason new lawns fail. Rent a tiller if you don't own one—it makes this step 10 times faster. After tilling, do a quick "squeeze test": grab a handful of soil. If it stays in a tight ball when you release it, keep working it until it crumbles easily. This simple test tells you exactly when your soil is ready for seeding.
Seed Distribution Technique: When spreading that 8-12 lbs of seed in Step 2, walk in a grid pattern rather than random crisscrosses. Start at one corner, make parallel passes about 2 feet apart, then turn and repeat perpendicular to your first passes. This ensures you don't miss spots or double-up on seed amounts. Pro tip: spread half the seed one way, then the other half perpendicular to create that perfect checkerboard pattern for even coverage.
Watering Watchdog: The ¼ inch per day watering in Step 3 is crucial, but timing matters just as much. Always water in the early morning (between 4-8 AM) to prevent fungal growth from evening moisture. I set a timer for 15 minutes in the morning and 15 minutes in the evening—this gives you that perfect ¼ inch without guessing. Use a rain gauge or empty tuna can to measure your water output if you're unsure about how much you're actually applying.
First Mow Confidence: That 3-inch mowing height in Step 4 might seem tall if you're used to cutting grass shorter, but trust me—it's essential. When you finally reach that 4-6 week mark and it's time to mow, set your blade to 3 inches and leave it there. The first cut should only remove about ⅓ of the blade height, so don't be tempted to cut it shorter just because it's been so long. This prevents shock to your new grass and encourages deeper root growth.
Pro Tips for Lay A Lawn With Grass Seed
- These game-changing tips will help you avoid common pitfalls and create a lawn that looks like it came straight from a professional landscaping manual.
- Soil Preparation Secret: Don't rush the soil prep in Step 1!
- Seed Distribution Technique: When spreading that 8-12 lbs of seed in Step 2, walk in a grid pattern rather than random crisscrosses.
Frequently asked questions
Got questions about laying a lawn with grass seed? You’re not alone! Here are answers to the most common queries to help you grow a thriving, picture-perfect lawn with confidence.
When is the best time to plant grass seed?
The ideal time depends on your climate. In cool-season regions (like the Northeast or Midwest), plant in early fall or spring when soil temps are between 50–65°F. In warm-season areas (South or Southwest), aim for late spring to early summer when soil is 65–75°F. Avoid extreme heat or cold—seedlings need consistent moisture to sprout!
How long does it take for grass seed to grow into a lawn?
Germination time varies by grass type:
- Cool-season grasses (like fescue or bluegrass): 7–21 days
- Warm-season grasses (like Bermuda or zoysia): 10–30 days
Can I just spread grass seed over dirt without preparing the soil?
Nope! Skipping soil prep = thin, patchy grass. Always till the soil to loosen compacted earth, remove debris, and mix in compost. A bare-minimum prep includes raking to create a smooth, seed-friendly surface. Seed needs contact with soil to germinate—don’t skip this step!
What’s the best way to keep grass seed from washing away after planting?
Use straw or a light mulch (like peat moss) to hold seed in place and retain moisture. Water gently but frequently—aim for ¼ inch per day (use a rain gauge or tuna can to measure). Avoid heavy watering, which can dislodge seed. For slopes, consider hydroseeding or temporary erosion control blankets.
Why is my new grass seed not growing? Troubleshooting tips.
If your seed isn’t sprouting, check these common issues:
- Too dry or too wet: Keep soil consistently moist (not soggy).
- Poor soil contact: Rake lightly to ensure seed touches soil.
- Wrong season: Seed may not germinate in extreme heat/cold.
- Birds or pests: Use bird netting or a light mulch to deter them.
- Old or low-quality seed: Store seed properly (cool, dry place) and buy fresh.
Is grass seed cheaper than sod? What are the pros and cons?
Cost:
Grass seed is far cheaper (typically $0.50–$2 per sq. ft.) vs. sod ($0.30–$1 per sq. ft. installed). However, seed takes longer to establish and requires more maintenance.
- Pros of seed: Customizable grass types, better for slopes, and easier to repair.
- Cons of seed: Slower growth, vulnerable to erosion/pests, and needs diligent care.
- Pros of sod: Instant lawn, weed-free, and durable.
- Cons of sod: Expensive, limited grass variety, and requires immediate watering.
Wrapping up and next steps
Laying a lawn with grass seed is a rewarding project that transforms your outdoor space into a vibrant, functional area—one that’s perfect for relaxation, play, or entertaining.
By following these steps—preparing the soil, choosing the right seed, sowing evenly, and maintaining consistency—you’ll set the stage for a lush, healthy lawn that stands the test of time. 🌱
Now that you’re armed with the know-how, roll up your sleeves and get started! For extra tips on troubleshooting common issues or optimizing growth, check out our FAQ section—or grab your tools and dive in. Every patch of green begins with a single seed. You’ve got this! 🌟