
Lawn
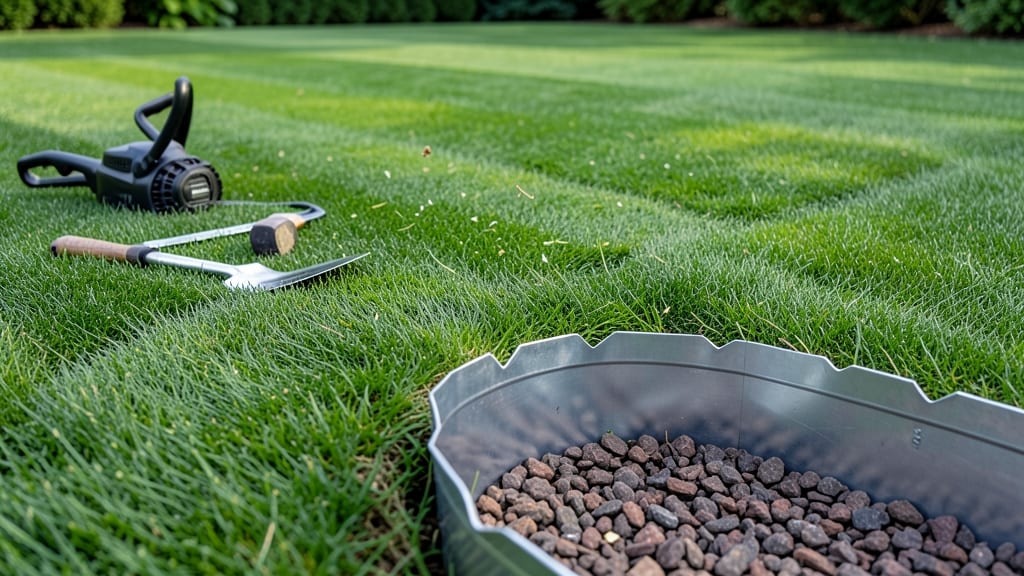
Metal lawn edging gives your yard clean, long-lasting lines that make every landscape design look intentional. 🌿 I’ve used it to transform patchy, uneven borders into sharp, professional-looking edges that stay put through rain, freeze-thaw cycles, and years of mowing—no more grass creeping into flower beds or mulch spilling onto the lawn.
Aluminum and steel are the top choices: aluminum won’t rust, resists bending, and comes in sleek styles, while steel offers heavier durability for high-traffic areas. Curved edging softens garden beds, while straight creates crisp geometric contrast.
The best part? Installation takes just a few hours with basic tools, and it cuts down on weeding and maintenance by containing soil and mulch exactly where you want them.
Imagine a yard where every line looks intentional—no more blurry transitions between lawn and garden. Metal edging makes trimming easier, keeps weeds at bay, and adds a polished look that boosts curb appeal instantly.
Plus, it’s a one-time investment that lasts 10+ years, saving you time and money over plastic or stone alternatives.
Whether you’re framing a flower bed, outlining a patio, or defining a vegetable garden, metal edging gives your design structure and longevity. Start with a simple straight line for beginners or get creative with curves for a natural, organic feel.
The key is measuring carefully and cutting to fit—no guesswork, just precision.
📚 In This Guide
- What you need
- Instructions
- Tips and common mistakes
- Wrapping up and next steps
What you need
- ● Metal lawn edging: Galvanized steel or aluminum (most durable options)
- ● Lengths to match your lawn’s perimeter (e.g., 10-ft sections for standard yards)
- ● Height: 4–6 inches (standard for most residential use)
- ● Measuring tape (25+ feet for accuracy)
- ● Stakes or pins (10–20, depending on lawn size) to mark layout
- ● String or chalk line for straight reference lines
- ● Shovel or trenching tool (to dig a narrow trench, ~2–3 inches wide)
- ● Rubber mallet or hammer (for securing edging into place)
- ● Garden gloves (to protect your hands—trust us!)
- ● Level (to ensure edging stays perfectly straight)
- ● Post-hole digger (for rocky or hard soil)
- ● Landscape fabric (to prevent weeds from creeping up)
- ● Concrete or gravel (for extra stability in high-traffic areas)
- ● Paint or spray (to match your lawn’s aesthetic—fun!
- ● Clear the area of debris, rocks, or roots (a smooth workspace is key!)
- ● Check local regulations—some areas require permits for permanent edging.
- ● Choose a dry day for installation (wet soil = messy digging!).
Step-by-Step guide to installing metal lawn edging
Metal edging transforms sloppy lawns into crisp, professional borders that last for years with minimal upkeep.
🪴 Step 1: Measure and Mark Your Edging Layout
Start by measuring the perimeter where you want the edging to go. Use a measuring tape to mark straight lines with spray paint—this prevents guesswork later. I like to use a garden hose to create a temporary curve guide for rounded edges, then step on it to imprint the shape onto the grass before marking.
For straight edges, drive stakes every 4 feet along your marked line and stretch a string line between them. This ensures perfect alignment before you cut or bend metal. Double-check your layout by walking the perimeter—you'll spot any awkward angles or areas where the edging might interfere with sidewalks or driveways.
📏 Step 2: Cut Metal Edging to Fit Your Design
Metal edging comes in standard lengths, so you'll need to cut it to fit your marked layout. Use tin snips for clean cuts—never a hacksaw, as it leaves rough edges that can snag fabric or damage mowers. I mark cut lines with a permanent marker and make test cuts on scrap pieces first to find my rhythm.
For rounded corners, use aviation snips to make precise bends. Hold the metal firmly against your marked line and bend gradually—don't force it, or you'll create weak spots that'll crack under pressure. Wear gloves to protect your hands; metal edges are sharper than they look.
💧 Step 3: Prepare the Ground for Secure Installation
Dig a trench along your marked line that's about 2-3 inches wide and 3-4 inches deep. The depth depends on your soil type—clay holds better with shallower trenches, while sandy soil needs deeper placement. Use a shovel for straight sections and a hand trowel for curves to maintain precision.
Remove all grass, roots, and rocks from the trench—anything that could cause the edging to shift over time. Pack the soil firmly at the bottom with your shovel handle or a soil compactor. This creates a solid base that won't settle unevenly after installation.
⏰ Step 4: Install the Metal Edging with Precision
Start at one corner and work your way around the perimeter, placing each piece of edging into the trench. Use a rubber mallet to tap the metal gently into position—this prevents bending while ensuring a snug fit. For extra stability, I like to place a small amount of gravel in the trench before adding the edging, which helps with drainage and prevents soil from pushing up against it.
Check your work frequently by walking along the edging—it should sit flush with the ground without wobbling. If you notice gaps, add a little more soil and pack it down. For long straight sections, use a level to ensure the edging stays perfectly horizontal. Real talk: this is where most people rush and end up with crooked lines—take your time here.
🌱 Step 5: Secure and Finish for Long-Term Durability
Once all the edging is in place, use a landscaping fabric to cover the trench before backfilling with soil. This prevents grass from growing up against the metal and keeps the edging clean. Cut the fabric to fit snugly, then fill the trench with soil, packing it down firmly as you go.
For added security, especially in high-traffic areas, drive stakes every 2-3 feet behind the edging and attach it with landscape staples. This hidden reinforcement keeps the edging from shifting over time. Finally, water the area lightly to settle the soil—you'll see how crisp and professional your new lawn edges look compared to the old, ragged lines.
Tips & tricks for perfect metal lawn edging installation
Here's what I've learned after installing edging for dozens of yards—these tricks ensure your project looks professional and lasts for years.
Precision Layout is Everything: Before you even touch the metal, walk your marked layout with a friend holding the edging—this lets you visualize the final look. I always double-check that the edging won't interfere with sprinkler heads, sidewalks, or driveways by tracing the path with chalk first. This simple step prevents costly mistakes later when you realize the edging blocks access to your mailbox.
Cutting Technique Matters More Than You Think: When using tin snips in Step 2, position the metal so the cut follows your natural cutting motion—this gives you cleaner, straighter edges. For curves, I make overlapping cuts at 45-degree angles before bending, which creates a more natural, flexible corner. Pro tip: Test each cut on scrap metal first to find your rhythm before committing to your actual pieces.
Soil Preparation Makes All the Difference: In Step 3, don't just dig the trench—create a proper foundation. I pack the bottom with a thin layer of gravel before adding soil, which improves drainage and prevents soil from pushing against the metal. For clay-heavy soil, add a bit of sand to the trench mix to help with compaction. This small adjustment prevents the edging from shifting over time, especially in freeze-thaw cycles.
Leveling is Non-Negotiable: The most common mistake I see in Step 4 is skipping the level check. Use it frequently—every 6-8 feet for straight sections, and at each corner for curves. If you notice the edging starting to dip or rise, adjust immediately by adding or removing soil. Uneven edging looks amateurish and can cause mower damage over time. I keep a small bottle of water nearby to dampen the soil as I pack it down—this helps it settle more evenly.
Pro Tips for Lawn Edging Metal
- Here's what I've learned after installing edging for dozens of yards—these tricks ensure your project looks professional and lasts for years.
- Precision Layout is Everything: Before you even touch the metal, walk your marked layout with a friend holding the edging—this lets you visualize the final look.
- Cutting Technique Matters More Than You Think: When using tin snips in Step 2, position the metal so the cut follows your natural cutting motion—this gives you cleaner, straighter edges.
Frequently asked questions
Got questions about lawn edging metal? You’re not alone! Here are answers to the most common concerns—from installation to long-term care—so you can confidently upgrade your yard’s borders.
What’s the best time of year to install metal lawn edging?
Install metal edging when the ground is soft but not muddy—spring or early fall are ideal. Avoid winter (frozen soil) or summer (dry, hard ground). Pro tip: Water the area lightly the day before installation for easier digging.
Can I install metal edging myself, or do I need a pro?
DIY is totally doable! Most metal edging kits come with tools and instructions. For complex slopes or large yards, consider hiring a pro—but for straight lines, rent a post-hole digger or borrow a spade. Just ensure stakes are plumb for a clean finish.
Will metal edging rust over time, and how do I prevent it?
High-quality metal (like aluminum or galvanized steel) resists rust for years. Still, check for sharp edges or exposed screws—apply a zinc-based primer or paint if needed. Avoid planting near edging to prevent moisture buildup.
What’s the difference between metal and plastic/stone edging?
Metal edging lasts 10+ years, resists shifting, and defines borders sharply. Plastic is budget-friendly but may crack; stone adds curb appeal but requires heavy labor. For durability and precision, metal wins—especially for high-traffic areas.
My metal edging shifted after rain—how do I fix it?
Shifted edging often means loose soil. Dig a 1-inch trench around the base, backfill with gravel, then tamp down. For stubborn sections, use landscape staples to secure edging to stakes. Recheck stakes annually to prevent future movement.
Wrapping up and next steps
Transforming your lawn with metal edging isn’t just about aesthetics—it’s an investment in long-term beauty and ease. From durable materials like aluminum and steel to the precision they bring, metal edging elevates your outdoor space with minimal upkeep.
Whether you’re defining flower beds or keeping grass in check, the results are worth every effort!
Ready to take the next step? Gather your tools, measure carefully, and dive in! Your perfectly lined lawn awaits—start here for a smooth installation. 🌟