
Lawn
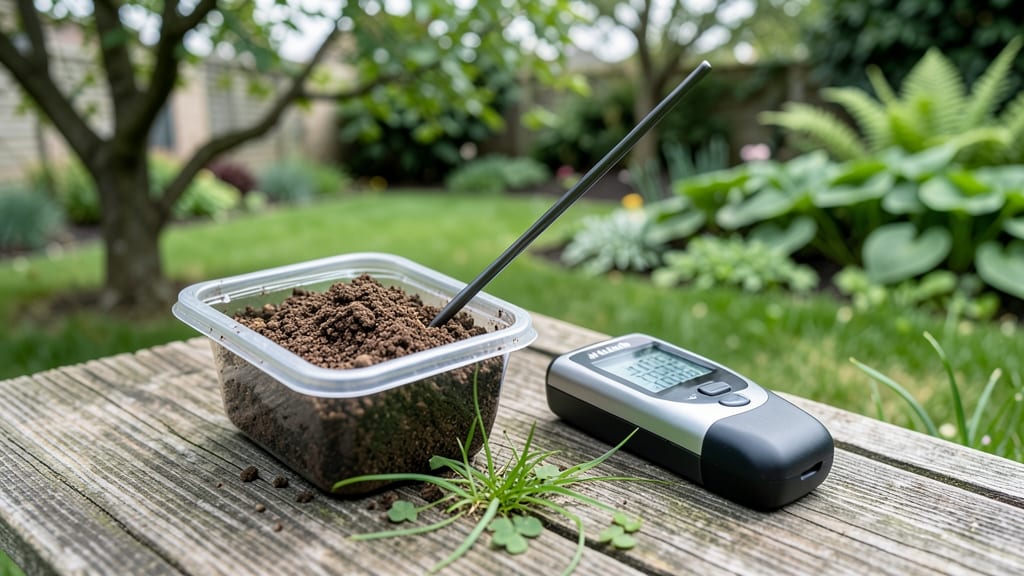
A lawn soil pH tester reveals why your grass looks sickly when nothing else has changed. 🌱 I’ve used mine to diagnose patchy lawns, and the results always point to hidden soil problems—like a silent nutrient thief.
Most homeowners never check pH, yet it controls what nutrients grass can actually use. The ideal range for lawns is 6.0 to 7.0, where iron, phosphorus, and nitrogen unlock properly. Too acidic (below 6.0)? Your grass starves, even if you fertilize. Too alkaline (above 7.0)? Essential micronutrients vanish.
A simple test takes 5 minutes and costs pennies compared to redoing your lawn. Start by sampling 5-6 spots across your yard, mixing them in a clean bucket. Moisten the soil with distilled water, then follow the tester’s instructions—usually a color change on a strip or digital readout.
If your results surprise you (like my own lawn testing at 5.2!), don’t panic: lime raises pH, sulfur lowers it, and both work slowly over months. Common mistakes? Testing right after rain (water skews results) or ignoring soil type (clay holds pH differently than sandy soil).
Pro tip: retest after adjustments to confirm progress. Your grass will thank you with deeper green and fewer mysteries.
📚 In This Guide
- What you need
- Instructions
- Tips and common mistakes
- Wrapping up and next steps
What you need
- ● Lawn soil pH tester kit: Choose a digital tester (for accuracy) or test strips (for convenience). Look for kits with calibration features or color-coded pH scales.
- ● Garden trowel or soil probe: A stainless-steel or plastic tool (6–12 inches long) to collect deep soil samples.
- ● Clean containers or ziplock bags: 3–5 small, airtight bags to store samples (avoid contamination!).
- ● Distilled water: 1–2 cups per sample (tap water can skew results).
- ● Notebook & pen: To log pH readings by zone (e.g., sunny vs. shady areas).
- ● Soil pH adjustment products: Lime (for acidic soil, pH ) or sulfur (for alkaline soil, pH > 7.0).
- ● Gloves: Nitrile or rubber gloves to keep hands clean.
- ● GPS or garden map: Track sample locations for targeted treatments.
- ● Calibration solution: If using a digital tester (check kit instructions).
How to use a lawn soil pH tester for accurate results
Skip the guesswork—this quick method gives you precise soil pH readings in minutes.
🌱 Step 1: Collect Representative Soil Samples
Grab a clean trowel or shovel and dig 4-6 small samples from your lawn, spaced 6-12 inches deep and 10-15 feet apart. Mix them in a clean bucket—this averages out variations. Avoid areas near sidewalks or heavily fertilized spots, as those can skew results.
If your lawn has distinct zones (sunny vs. shady), test each separately. You’ll see differences in color and texture that hint at pH variations. For example, shady patches often hold more organic matter, which can lower pH naturally.
💧 Step 2: Prepare the Soil Sample for Testing
Spread the mixed soil on a clean sheet of newspaper or paper towel to dry slightly—it should crumble easily when pressed, but not be powdery. Remove any large debris like roots or rocks. Once dry, take a 1-teaspoon portion and place it in the tester’s sample container (if your tester has one) or directly onto the testing pad.
If your tester requires adding distilled water, use 2 tablespoons of water per teaspoon of soil. Stir gently with a clean spoon until the mixture looks like wet sand. Too much water will dilute the reading, so avoid over-saturating. This step ensures consistent results across tests.
⏰ Step 3: Perform the Test According to Kit Instructions
Follow the tester’s specific steps—most involve inserting the soil sample into a probe or dropping it onto a color-coded pad. For liquid testers, you’ll mix the soil with the provided solution and wait 2-5 minutes for the color to develop. Compare the result to the included chart immediately, as colors can fade over time.
I like to test at the same time each day to avoid variations in lighting affecting my color judgment. If using a digital tester, wait for the reading to stabilize—some take 30-60 seconds. Record the pH number precisely; even slight differences (like 6.5 vs. 6.8) can impact fertilizer choices.
🌿 Step 4: Interpret Results and Adjust as Needed
A pH reading of 6.0-7.0 is ideal for most lawns. Below 6.0 means your soil is too acidic (common in clay-heavy soils), while above 7.0 signals alkalinity (often seen in sandy or limestone-rich areas). If your reading is off by 0.5 or more, adjustments are needed—like adding sulfur for acidity or lime for alkalinity.
Don’t panic if your first test is outside the ideal range. Soil pH changes gradually, so retest after 4-6 weeks of amendments to track progress. I mark my test dates on a calendar to remember when to retest—this prevents overcorrecting or skipping necessary treatments.
☀️ Step 5: Retest After Amendments for Accuracy
After applying amendments, wait 4-8 weeks before retesting. This gives the soil time to stabilize and the pH to shift naturally. Dig new samples from the same spots as before to compare apples to apples. If the pH hasn’t moved enough, you may need to adjust the amount of amendment or wait longer.
Real talk: I’ve seen pH readings jump 0.3-0.5 points after one treatment, but drastic changes (like 6.0 to 7.0 in a week) usually mean overapplication. When in doubt, test again in 2-3 weeks—patience here saves money and avoids lawn stress.
Tips & tricks for accurate soil pH testing
Precision starts with the right approach—these tricks ensure your soil pH readings are reliable every time.
Sample Selection Matters: In Step 1, avoid testing near recent fertilizer applications or areas with visible moss growth. These spots can give misleadingly low pH readings. I always test at least 10 feet away from sidewalks or driveways, as concrete runoff can alter soil chemistry. For large lawns, divide into sections—sunny areas often test 0.2-0.5 points higher than shady spots due to different organic matter breakdown.
Consistent Sample Prep: When preparing your 1-teaspoon soil sample in Step 2, use a clean, dry spoon each time. Leftover moisture from previous tests can skew your results. For liquid testers, measure the 2 tablespoons of distilled water precisely—using tap water can introduce minerals that affect accuracy. I keep a small spray bottle of distilled water handy to quickly adjust if the mixture gets too dry during stirring.
Timing is Everything: During Step 3, set a timer for the full 2-5 minutes when waiting for color development. Some testers change color rapidly in the first 30 seconds, then stabilize. I've seen readings jump 0.3 points between 1 minute and 3 minutes if not monitored closely. For digital testers, wait the full 30-60 seconds for stabilization—don't trust the first number that appears.
Interpret with Context: In Step 4, remember that your ideal pH range (6.0-7.0) might vary slightly based on your grass type. Cool-season grasses like fescue thrive at 6.0-6.5, while warm-season grasses like Bermuda prefer 6.5-7.5. If your reading is 6.2 but you have Bermuda grass, you might not need immediate amendments. Always check your grass type before deciding to adjust.
Pro Tips for Lawn Soil Ph Tester
- Precision starts with the right approach—these tricks ensure your soil pH readings are reliable every time.
- Sample Selection Matters: In Step 1, avoid testing near recent fertilizer applications or areas with visible moss growth.
- Consistent Sample Prep: When preparing your 1-teaspoon soil sample in Step 2, use a clean, dry spoon each time.
Frequently asked questions
Got questions about testing your lawn’s soil pH? You’re not alone! Here are answers to the most common queries to help you get the most out of your lawn soil pH tester—so you can keep your grass thriving without the guesswork.
How often should I test my lawn’s soil pH?
Test your soil once a year (spring or early fall) for routine checks. If you’re dealing with new sod, poor growth, or pest issues, test every 3–6 months. Soil pH can shift due to weather, fertilizers, or organic matter breakdown, so consistency is key!
How long does it take to get accurate results with a pH tester?
Most digital or probe-style lawn soil pH testers deliver results in just 1–2 minutes. For liquid test kits, follow the package instructions—usually 24 hours. Pro tip: Take readings from 3–4 spots in your yard for the most reliable average!
Are digital pH testers worth the investment over liquid kits?
Digital testers offer faster, reusable, and more precise readings (often with calibration for accuracy), making them ideal for large lawns or frequent testing. Liquid kits are budget-friendly but require more time and can be less reliable for heavily compacted or clay soils. Weigh your needs—precision vs. cost!
What if my pH tester gives inconsistent readings?
Inconsistent results often mean dirty probes, uneven soil samples, or calibration drift. Clean the probe with vinegar or distilled water, test the same spot again, or recalibrate your digital tester. If issues persist, try a second tester or send a sample to a lab for verification.
Can I adjust my lawn’s pH without chemicals?
Yes! For raising pH (alkaline soil), add elemental sulfur or peat moss. To lower pH (acidic soil), use composted pine needles, coffee grounds, or organic matter like leaf mold. These methods take 3–6 months to show results—patience pays off for a healthier lawn!
Wrapping up and next steps
Testing your lawn soil’s pH with a lawn soil pH tester is a game-changer—it puts the power of precision gardening right in your hands! 🌱 By understanding your soil’s acidity or alkalinity, you’re not just guessing; you’re making informed decisions to nurture a lush, vibrant lawn.
Whether you’re adjusting for grass growth or preparing for seasonal changes, this simple tool ensures your yard thrives.
Ready to take the next step? Grab your tester, roll up your sleeves, and give your soil the care it deserves—your lawn will thank you! 🌟