
Lawn
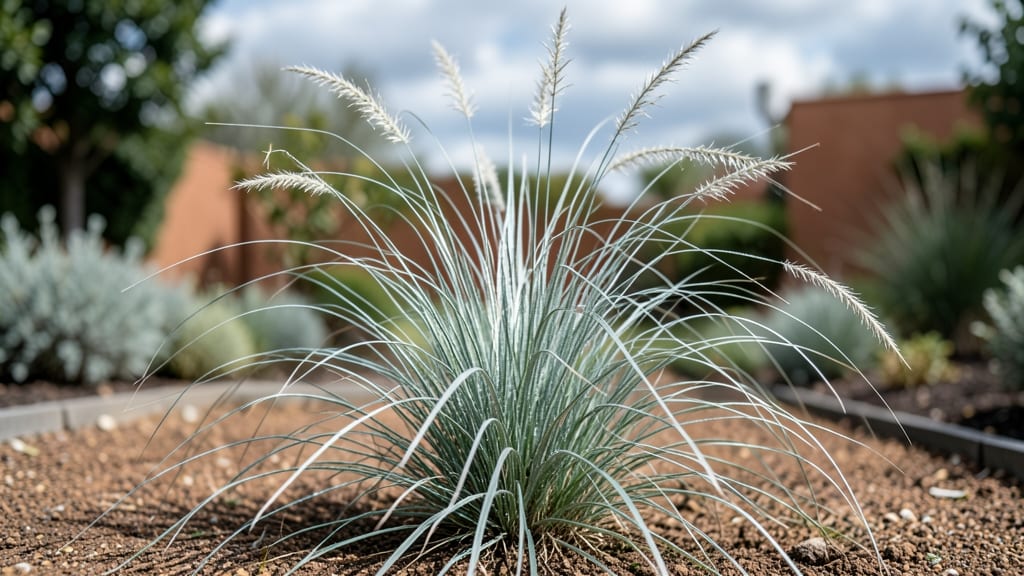
That spiky grass creeping into your lawn is the last thing you want before summer barbecues. 🌱 I’ve wrestled with nutgrass and crabgrass myself—those stubborn weeds that turn your yard into a minefield of sharp blades underfoot. The good news?
Precision removal works, and I’ll show you how to tackle it without resorting to harsh chemicals right away. The secret lies in timing and technique. Pull weeds when soil is moist (early morning or after rain) to avoid breaking off the roots.
A weeding tool with a narrow head lets you target just the invaders while leaving your grass unharmed. For tougher cases, a mix of vinegar and dish soap can work as a natural herbicide—just spot-treat and water immediately after.
By the end of the day, you’ll have a smooth patch of lawn where weeds used to spike up. Your feet (and lawnmower tires) will thank you. The key is consistency—check for new sprouts weekly, especially after rain, and you’ll keep those weeds at bay for good.
This method works for any yard size, from small patches to full lawns. Just grab your tools and roll up your sleeves—your smooth turf is waiting.
📚 In This Guide
- What you need
- Instructions
- Tips and common mistakes
- Wrapping up and next steps
What you need
- ● Gloves (heavy-duty) – 2 pairs (one for pulling, one for soil work). Look for garden or work gloves with reinforced palms for grip and protection.
- ○ Lawn shears or pruners – 1 pair with sharp, bypass blades (for clean cuts near the root). Optional: Dandelion weeder for stubborn roots.
- ● Hand trowel or garden fork – 1 each. A stainless-steel trowel (6–8 inches long) for digging small patches; a garden fork for loosening soil in larger areas.
- ● New sod or grass plugs – Quantity depends on affected area. Choose high-quality, disease-resistant sod matching your lawn’s grass type (e.g., Kentucky bluegrass or fescue). Pro tip: Buy 10–20% extra to account for waste.
- ● Peat moss or topsoil – 1–2 bags (50 lbs each). Use screened topsoil or peat moss to fill gaps and promote root growth.
- ● Rake (bow or leaf rake) – 1 medium-sized. A plastic or metal bow rake with fine teeth works best for leveling soil.
- ● Water hose with nozzle – 1. A soaker nozzle or adjustable spray head ensures even watering.
- ○ Knee pads or cushion – Optional but recommended for comfort during long sessions.
- ● Broadcast spreader – For evenly applying grass seed if you’re patching with seed instead of sod.
- ○ Lawn roller (lightweight) – Optional for pressing new sod into place (12–18 inches wide).
- ● Pre-emergent herbicide – 1 bottle (if treating spiky grass like nutgrass or crabgrass chemically). Follow label instructions carefully!
- ● Wheelbarrow – 1 small for hauling soil, sod, or debris.
- ● Trash bags – 3–5 for disposing of pulled weeds and debris.
Step-by-step instructions for removing spiky grass from your lawn
Here’s how to tackle those stubborn spiky patches for a smooth, even lawn—no guesswork involved.
🪴 Step 1: Gather the Right Tools for the Job
You’ll need a sharp garden fork or dandelion weeder (the kind with a long handle and forked tip), a pair of gardening gloves, and a small shovel for stubborn roots. I always grab a bucket too—it’s perfect for collecting pulled weeds and spiky grass clumps. Avoid using your hands unless you’re ready for a prickly surprise.
Check your tools before you start. A dull fork will make the job harder, and you’ll end up with torn grass instead of clean removal. If your fork is rusty or bent, take a minute to sharpen it or swap it out. This step saves time later when you’re actually pulling—trust me, you’ll thank yourself.
✂️ Step 2: Identify and Mark the Spiky Areas
Walk your lawn and look for patches where the grass feels rough underfoot or where you see clusters of spiky blades. These are your targets. I like to use a spray bottle filled with water to lightly mist the area—it helps me see the contrast between the spiky grass and the rest of the lawn more clearly.
Once you’ve spotted a spiky patch, use a white chalk or a small stick to outline the area. This keeps you from accidentally pulling good grass. Real talk: I’ve done this step wrong before and ended up with bald spots where I meant to fix them. Marking saves you from backtracking.
🌱 Step 3: Pull the Spiky Grass by the Roots
Start at one edge of your marked area and insert the garden fork about 2 inches away from the spiky grass. Angle the fork slightly and pry upward, lifting the entire root system. You’ll feel resistance at first, but once you get a grip, the spiky grass should come out in a clump. If it doesn’t, wiggle the fork gently to loosen the roots.
Work your way across the patch, keeping the fork 1-2 inches apart to avoid missing any roots. If you hit a stubborn clump, use the shovel to dig around it carefully. The goal is to remove as much of the root as possible—this prevents regrowth. Drop the pulled grass into your bucket as you go.
💧 Step 4: Fill the Gaps with Smooth Grass Seed
Once the spiky grass is gone, you’ll have bare spots. Grab your smooth grass seed (the type you want to replace the spiky patches with) and sprinkle it evenly over the area. Use about ½ pound of seed per 100 square feet—this ensures good coverage without overcrowding. Lightly rake the seed into the soil so it makes contact with the earth.
Water the area gently but thoroughly right after seeding. The soil should be moist but not soggy—think of it like dampening a sponge. This helps the seeds settle and stay in place. Avoid heavy watering at first; it can wash the seeds away or bury them too deep.
☀️ Step 5: Monitor and Maintain the New Growth
Keep the newly seeded area consistently moist for the first 2-3 weeks. This encourages strong root development. You’ll see the first signs of growth in about 7-10 days, but don’t be alarmed if it takes a little longer—soil temperature and weather can play a role.
Once the new grass reaches about 3 inches tall, it’s time to mow it for the first time. Use a sharp mower blade set to 3 inches high to avoid scalping the young grass. After that, maintain your lawn as usual, but keep an eye on the newly filled patches for the first few months. If you see any spiky grass creeping back, pull it immediately before it spreads.
Tips & tricks for perfect spiky grass removal
Here’s what nobody tells you about getting that silky-smooth lawn without the frustration.
Tool Prep Matters: I learned this the hard way after ruining three lawn patches—always sharpen your garden fork before starting. A dull fork tears grass instead of lifting clean roots, leaving behind jagged stumps that regrow. Test your fork on a scrap of grass first: if it doesn’t glide through smoothly, sharpen it. A file or whetstone works perfectly, and you’ll thank yourself when you pull out clean clumps instead of struggling with torn grass.
Visual Trick for Spotting Patches: The spray bottle hack is a game-changer. After misting, the spiky grass stands out like a sore thumb against the damp, smooth blades. Pro tip: Do this on a cloudy day or early morning when the sun isn’t beating down—it makes the contrast even sharper. I’ve found patches I’d previously missed because they blended in during bright sunlight.
Root Removal Rescue Strategy: If you hit a stubborn root in Step 3, don’t force it—switch to your shovel for leverage. Angle the shovel blade under the clump and rock gently side to side while pulling upward. This prevents tearing the surrounding grass. I’ve saved entire sections of lawn this way when the fork just wouldn’t budge. Think of it like prying up a stubborn lid: patience and the right tool make all the difference.
Seed Application Secret: For even coverage in Step 4, use the "back-and-forth" method: sprinkle seed in one direction, then go perpendicular to catch any missed spots. This ensures no bare patches while avoiding overcrowding. And here’s the thing about watering: use a gentle rain setting on your hose—direct pressure can bury seeds too deep. A light mist that barely ripples the water’s surface is ideal.
Pro Tips for Spiky Grass In Lawn
- Here’s what nobody tells you about getting that silky-smooth lawn without the frustration.
- Tool Prep Matters: I learned this the hard way after ruining three lawn patches—always sharpen your garden fork befor...
- Visual Trick for Spotting Patches: The spray bottle hack is a game-changer. After misting, the spiky grass stands out...
Frequently asked questions
Got questions about dealing with spiky grass in your lawn?
You’re not alone! Here are some of the most common concerns—and their straightforward solutions—to help you tackle those pesky spikes like a pro.
What causes spiky grass to grow in my lawn in the first place?
Spiky grass (often crabgrass or nutgrass) thrives in thin, bare spots where sunlight reaches the soil. Poor mowing, overwatering, or compacted soil create the perfect conditions. These weeds also spread quickly via seeds or underground runners, making them stubborn to eradicate without intervention.
When is the best time to pull spiky grass and replace it with smooth turf?
The ideal window is early spring or late summer when soil is soft and weeds are actively growing. Avoid pulling during droughts or freezing temps—roots may break off, leaving fragments to regrow. For precision pull-and-replace, tackle it on a cool, overcast day to reduce stress on your lawn.
How do I safely pull spiky grass without damaging my existing grass?
Use a weeding tool with a narrow head (like a dandelion digger) to target roots without yanking nearby grass. For stubborn patches, loosen the soil first with a garden fork. Always pull from the base—twisting gently to dislodge the entire root system. Pro tip: Water the area 24 hours beforehand to make extraction easier!
What’s a good alternative to pulling if my lawn has a huge spiky grass problem?
For widespread infestations, consider pre-emergent herbicides in early spring (like corn gluten meal) to block seeds, or post-emergent sprays (e.g., glyphosate) for established weeds. For organic solutions, try vinegar-based sprays (20% acetic acid) or smothering with cardboard/mulch for 4–6 weeks before reseeding.
Why does spiky grass keep coming back after I remove it?
Leftover roots or seeds in the soil are the usual culprits! Ensure you’ve dug deep enough (at least 2–3 inches) and reseal the soil with a thin layer of compost before replanting. If the problem persists, test your soil’s pH—nutgrass loves acidic conditions (aim for 6.0–7.0 for healthy turf).
Bonus Tip:
After pulling weeds, overseed bare spots with a dense, shade-tolerant grass mix (like fine fescue) to crowd out regrowth. A light top-dressing of sand can also improve drainage and root establishment—just keep it thin (¼ inch max) to avoid smothering existing grass.
Wrapping up and next steps
Dealing with spiky grass in your lawn doesn’t have to be a daunting task—with the right tools and techniques, you can transform it into a lush, smooth carpet of green! 🌱 The pull-and-replace method ensures precision, minimizes regrowth, and keeps your yard looking its best with minimal effort.
Whether you’re tackling crabgrass, nutsedge, or other intruders, consistency is key.
Ready to take action? Start small—tackle one section at a time—and celebrate every patch of progress! For long-term success, consider testing your soil or adjusting your watering habits. Your dream lawn is just a few pulls away! 💪