
Landscaping
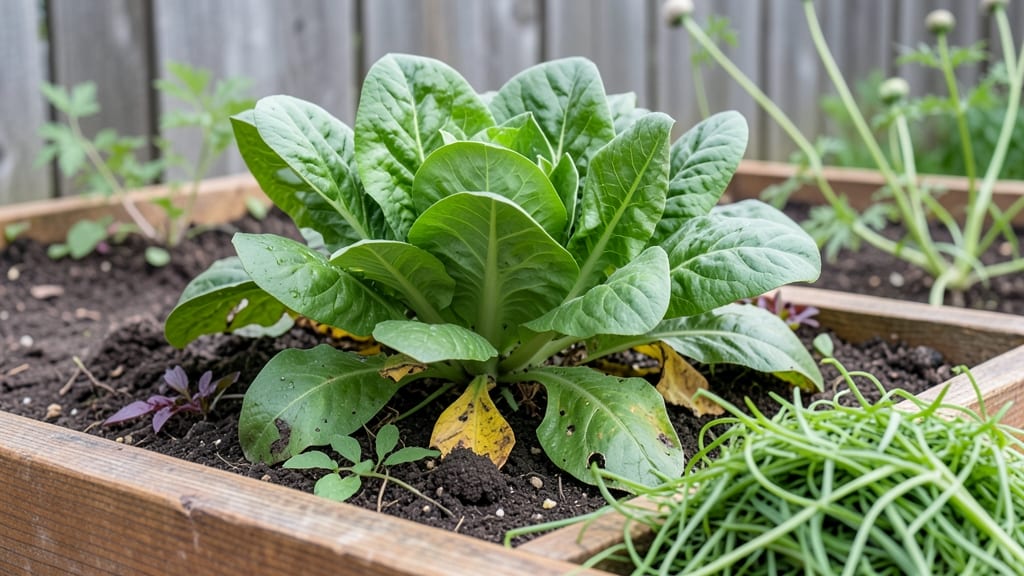
My first year using lawn clippings as mulch saved me $80 on compost and cut my watering time in half. That pile of grass you bag up every week isn't waste—it's free fertilizer packed with nitrogen, potassium, and organic matter your soil will gobbble up.
The catch? You've got to use it right, or you'll end up with thatch instead of soil gold.
Here's the thing—it works best when the clippings are dry and finely chopped, spread in a thin layer no thicker than 1/4 inch. I learned the hard way that letting them pile up like mulch volcanoes smothers plants and breeds fungus.
The right technique turns your mower's discharge into a soil booster that locks in moisture, feeds earthworms, and keeps weeds at bay without synthetic chemicals.
By summer's end, you'll notice richer soil that holds water longer, fewer weeds popping up between plants, and a garden that looks healthier with less effort. My tomatoes stayed hydrated through a 10-day heatwave last July, and the basil grew so fast I had to harvest it twice a week.
The secret isn't complicated—it's consistent, and I'll show you exactly how to make it work without the common mistakes.
Works for vegetable beds, flower gardens, and even around shrubs—just avoid using clippings from lawns treated with herbicides. Let's turn that grass into garden magic instead of yard waste.
📚 In This Guide
- What you need
- Instructions
- Tips and common mistakes
- Wrapping up and next steps
What you need
- ● Fresh lawn clippings: Collect dry, weed-free clippings (avoid clumps). Aim for 2–4 inches of clippings per mowing session.
- ● Garden bed or mulch area: A designated spot with healthy soil and minimal weeds.
- ● Water source: A hose or watering can to keep clippings moist.
- ● Garden rake: For spreading clippings evenly (8–12-inch teeth work best).
- ● Gloves: Protect your hands from grass blades (nitrile or leather recommended).
- ● Wheelbarrow or tarp: To transport clippings (if not mulching immediately).
- ● String trimmer or scissors: For trimming edges neatly.
- ● Wait 1–2 hours after mowing to let clippings dry slightly (reduces clumping).
- ● Check for pesticides/herbicides—avoid treated grass if possible.
- ● Ensure your lawn is weed-free (no broadleaf weeds like dandelions).
Step-by-Step guide to using lawn clippings as mulch
Here's how to turn grass clippings into nutrient-rich mulch for healthier soil.
Collect and Dry the Clippings
After mowing, gather clippings and spread them evenly in a thin layer—about ¼ inch thick—over a tarp or in a designated drying area. Sunlight and airflow are key here; you want them to dry completely before using. This prevents clumps that smother plants and encourages decomposition into valuable organic matter.
Check daily for moisture. If clippings still feel damp after 24 hours, spread them thinner or move to a sunnier spot. Fully dried clippings will crumble easily between your fingers—this is your signal they're ready for the garden.
Chop or Shred for Faster Breakdown
Use a lawn mower, string trimmer, or even scissors to chop dried clippings into smaller pieces—about ½ inch long. Smaller pieces decompose faster and won't compact into a dense mat that blocks air and water. This step is especially important if you're mulching around delicate plants or in tight garden beds.
I like to run the clippings through the mower one last time right before applying. This ensures even distribution and prevents clumps that could suffocate young plants. If you skip this, you'll end up with uneven coverage and slower nutrient release.
Apply Mulch to Garden Beds
Spread the chopped clippings around plants, keeping them 2-3 inches away from stems to prevent rot. A 2-3 inch layer is ideal—thick enough to suppress weeds and retain moisture but thin enough to allow air and water penetration. For vegetable gardens, aim for 1-2 inches to avoid smothering shallow-rooted plants.
Work the mulch gently into the soil surface with a rake or gloved hands. This helps it blend naturally and encourages earthworms to incorporate it into the topsoil. Avoid piling clippings directly against plant stems, as this can trap moisture and invite disease.
Maintain and Refresh Regularly
Check mulched areas every 2-3 weeks and add fresh clippings as needed to maintain the 2-3 inch layer. Over time, the mulch will break down and blend into the soil, enriching it with nitrogen and organic matter. This is where the real magic happens—your soil will become darker, fluffier, and better able to retain moisture.
If you notice clippings forming a thick, thatchy layer, fluff it up with a rake. This prevents compaction and ensures continuous decomposition. In hot climates, you might need to reapply mulch more frequently, while cooler areas can go longer between refreshes.
Monitor for Pests and Adjust
Keep an eye out for slugs or snails, which are drawn to moist mulch. If you spot them, remove the mulch temporarily or apply an organic slug bait around the bed. Also watch for fungal issues—if clippings stay too wet, they can create a breeding ground for mold. Adjust your application rate if you see signs of excess moisture.
This mulch works best when balanced with other organic materials like leaves or straw. Mixing in a little compost or aged manure every few months gives your soil an extra nutrient boost. With consistent use, you'll notice stronger plant growth and fewer weeds—proof that grass clippings are truly garden gold.
Tips & tricks for perfect lawn clipping mulch
Here's how to maximize the benefits of your grass clippings without common pitfalls that can turn this free resource into a gardening problem.
Drying is Everything: The 24-hour drying time in Step 1 is non-negotiable for preventing clumps and mold. I've learned the hard way that damp clippings create a perfect breeding ground for fungus—just like soggy newspaper. Spread them thinner if your climate stays humid, and consider moving them to a sunny spot if they're not drying within the day. A good test is the crumble test: dried clippings should break apart easily between your fingers.
Chopping Technique Matters: When you're chopping those dried clippings to ½-inch pieces in Step 2, don't just give it a quick run through the mower. Take the extra 30 seconds to really break them down—this is what prevents that thick, thatchy layer that blocks water and air. I like to think of it like shredding paper for compost: the smaller the pieces, the faster they'll break down and enrich your soil.
Layering Like a Pro: That 2-3 inch layer mentioned in Step 3 is a sweet spot for most gardens, but here's the secret: fluff it up after applying. Use a rake to create air pockets—this prevents compaction and helps the clippings decompose more evenly. For vegetable gardens where you're using just 1-2 inches, I recommend mixing in some dried leaves or straw to improve aeration and prevent clumping.
Maintenance is Key: The 2-3 week refresh schedule in Step 4 works well, but pay attention to your local climate. In hot, dry summers, you might need to reapply every 10-14 days as the mulch breaks down faster. In cooler climates, you can stretch it to 4 weeks. The goal is always that 2-3 inch layer—any thicker and you risk smothering plants, any thinner and you lose the weed suppression benefits.
Pro Tips for Using Lawn Clippings As Mulch
- Here's how to maximize the benefits of your grass clippings without common pitfalls that can turn this free resource into a gardening problem.
- Drying is Everything: The 24-hour drying time in Step 1 is non-negotiable for preventing clumps and mold.
- Chopping Technique Matters: When you're chopping those dried clippings to ½-inch pieces in Step 2, don't just give it a quick run through the mower.
Frequently asked questions
Got questions about turning grass into garden gold?
Here are answers to the most common concerns about using lawn clippings as mulch—so you can mulch with confidence!
Can I use lawn clippings from chemically treated grass?
Unfortunately, no. If your lawn has been treated with herbicides, pesticides, or synthetic fertilizers, those chemicals can leach into your soil and harm plants. Wait at least 4-6 weeks after treatment before using clippings, or opt for organic lawn care instead.
How long do I need to wait after mowing before using clippings as mulch?
For best results, let clippings dry slightly (about 1-2 hours) to prevent matting and fungal growth. If they’re still damp, spread them thinly in a single layer—like confetti!—and water lightly to help them break down. Pro tip: Mow when grass is slightly dry for easier handling.
Will lawn clippings attract pests or rodents?
Not if applied correctly! Clippings left in thick piles can attract pests, but a thin, even layer (¼ inch or less) acts as a natural mulch without inviting critters. Avoid piling clippings near tree bases or structures, and keep garden beds well-aerated. Bonus: The nitrogen in clippings deters slugs!
What’s the best alternative if my lawn clippings are too wet or stringy?
If clippings are too clumpy or wet, try these swaps:
- Shredded leaves or straw – Great for moisture retention and weed suppression.
- Grass straw – Dried, seed-free grass that breaks down slowly.
- Wood chips or bark mulch – Ideal for acid-loving plants like blueberries.
Why do my clippings smell bad after mulching?
Smelly clippings usually mean they’re too thick or trapped moisture. Fix it by:
- Spreading them thinner (like a blanket, not a pile!).
- Avoiding mulching right before rain.
- Fluffing the layer occasionally to improve airflow.
Wrapping up and next steps
Using lawn clippings as mulch is a simple, eco-friendly way to nourish your garden while reducing waste! 🌱 These nutrient-rich clippings improve soil health, retain moisture, and even suppress weeds—all without spending extra money. Whether you're a beginner or a seasoned gardener, this practice is a game-changer for sustainable landscaping.
Ready to give it a try? Start small—collect your next mow and spread it thinly around your plants. Watch your garden thrive, one clipping at a time! 🌿