
Lawn
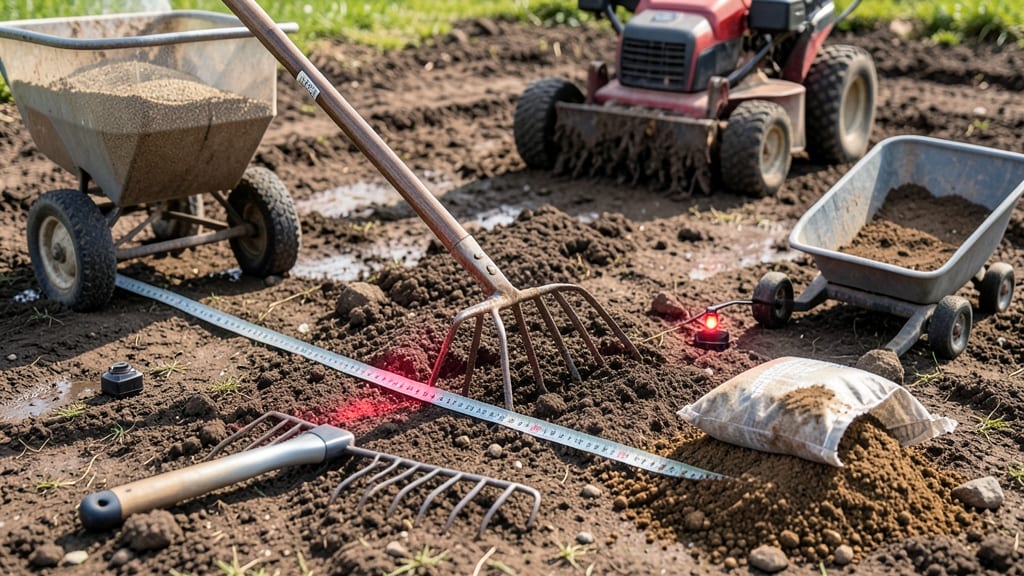
Preparing the ground for a lawn isn't just about clearing weeds—it's about creating the perfect foundation for fast, deep root growth that keeps grass thriving for years. 🌱 I’ve turned patchy, rocky soil into lush lawns by following a simple but critical process: testing, amending, and leveling before the first seed or sod goes down.
Skipping these steps means shallow roots, uneven growth, and a lawn that struggles in heat or drought. The key is working with your soil’s natural quirks—whether that’s heavy clay, sandy loam, or rocky terrain—rather than fighting it.
Start with a basic soil test kit (or borrow one from your local extension office) to check pH and nutrient levels. Most lawn grasses prefer a slightly acidic soil (pH 6.0–7.0), but if yours is off, lime or sulfur will save you from future brown patches.
Then, till in 2–4 inches of compost or aged manure to loosen compacted soil and improve drainage. This isn’t just fluffing the dirt; it’s giving roots room to breathe and access water and nutrients. Once your soil is amended, the real magic happens with leveling.
Use a rake and a 2x4 board to create a smooth, slightly crowned surface (higher in the center) so water drains away from your house and stays on the lawn.
A well-leveled base means fewer puddles, fewer bare spots, and grass that grows uniformly—no more "hills and valleys" that trip you up. For rocky areas, rent a rototiller or dig out large stones by hand; roots can’t compete with them, and they’ll poke through your lawn later.
This prep work takes a weekend, but it cuts years off the time it takes for your lawn to fill in and stay resilient. Whether you’re seeding or laying sod, the payoff is a lawn that looks professional from day one—and stays that way with minimal effort.
Ready to roll up your sleeves? Let’s get that ground ready.
📚 In This Guide
- What you need
- Instructions
- Tips and common mistakes
- Wrapping up and next steps
What you need
- ● Shovel or Spade: A sturdy, sharp-edged spade (18–24" long) for digging and removing debris.
- ● Garden Rake: A bow rake (for leveling) and a leaf rake (for clearing debris).
- ● Lawn Roller: A 50–100 lb. roller (rent or buy) to compact soil after leveling.
- ● Wheelbarrow: For hauling soil, rocks, or compost (1–2 cubic feet capacity).
- ○ Soil Test Kit: Optional but highly recommended to check pH and nutrient levels (DIY kits ~$20).
- ● Topsoil or Compost: 2–4 inches of high-quality topsoil (for poor soil) or compost (for amending).
- ● Lime or Sulfur: Adjust pH if needed (follow test kit instructions).
- ○ Mulch or Straw: 1–2 inches to retain moisture and suppress weeds (optional but helpful).
- ● Leveling Board: A 2x4 or DIY board to check for evenness.
- ● Soil Amendments: Gypsum (for clay soil), peat moss (for sandy soil), or organic matter.
- ● Edging Tool: To define lawn borders neatly.
- ● Knee Pads or Gloves: Because comfort (and blisters) matter!
Step-by-Step instructions for preparing ground for a lawn
Here's my go-to method for getting your soil ready in record time—no waiting months for nature to do the work.
🪴 Step 1: Clear and Mark the Area
Start by removing any existing vegetation, rocks, or debris from the space using a shovel or garden rake. I like to work in 4-foot by 4-foot sections so I don’t get overwhelmed. Mark your lawn boundaries with stakes and string to keep everything neat—this prevents accidental over-digging or uneven edges.
Once the area is clear, give it a final sweep with a leaf blower or broom to remove all loose debris. This step is critical because buried rocks or roots will poke through your new grass later, creating uneven spots. If you’re working with clay soil, you’ll notice it feels dense and sticky when wet—this is your first clue that extra prep is needed.
✂️ Step 2: Loosen and Level the Soil
Rent or borrow a rototiller to break up the top 4-6 inches of soil. This loosens compacted layers so grass roots can penetrate easily. Work the tiller in overlapping passes to ensure even coverage—think of it like mowing a lawn, but with soil instead of grass. If you don’t have a tiller, a sturdy garden fork will do the job, though it’ll take more elbow grease.
After tilling, use a garden rake to level the surface. Drag the rake in straight lines, then crosswise, to smooth out any high or low spots. You’re aiming for a flat, even plane—imagine a tabletop, not a rollercoaster. For extra precision, use a 2x4 board as a straightedge to check for dips or rises. Fill low spots with additional soil and rake again until everything is uniform.
💧 Step 3: Amend and Compact the Soil
Spread a 2-3 inch layer of compost or topsoil over the tilled area and work it into the top 2 inches of soil with a rake or hoe. This step boosts fertility and improves drainage, which is especially important if your soil feels heavy or clay-like. For faster results, mix in a slow-release lawn fertilizer (like a 10-10-10 blend) at the manufacturer’s recommended rate—this gives your grass a nutrient head start.
Once amended, lightly compact the soil with a garden roller or by walking over it in a grid pattern. You want the surface firm enough to support seed or sod, but not so hard that roots can’t push through. A good test: Press your thumb into the soil—it should hold a slight indentation but not crumble. Over-compacting now will lead to poor root growth later, so don’t press too hard.
☀️ Step 4: Final Prep and Watering
Give the soil one last rake to create a fine, crumbly texture—this ensures good seed-to-soil contact if you’re planting grass seed. If you’re laying sod, skip this step and proceed directly to installation. For seed, lightly drag a stiff-bristle brush over the surface to break up any remaining clumps. This step mimics nature’s way of settling soil and helps seeds make contact with the earth.
Water the prepared area deeply—about 1 inch of water—to settle the soil and encourage root-friendly conditions. You’ll know it’s done when the moisture reaches 4-6 inches down, which you can check by digging a small hole. This final watering also helps activate any compost or fertilizer you’ve added. Avoid walking on the soil for 24 hours after watering to let it fully absorb and stabilize.
Tips & tricks for perfect lawn ground prep
These quick strategies will help you prep your lawn soil faster and more effectively than ever before.
Section Management: Working in those 4-foot squares isn't just about organization—it's about consistency. I've found that when you finish one section completely before moving to the next, you avoid leaving gaps or uneven transitions between areas. This becomes especially important when you're leveling in Step 2, as you'll maintain a uniform depth throughout your entire lawn.
Clay Soil Hack: If you're dealing with that dense, sticky clay soil in Step 1, here's what nobody tells you—mix in some coarse sand (about 1 part sand to 3 parts soil) during your tilling. This creates tiny air pockets that improve drainage dramatically. I've seen clay soil that was nearly impenetrable transform into workable ground in just one pass with the tiller after adding sand.
Leveling Pro Tip: For that perfect tabletop finish in Step 2, use your 2x4 board as a straightedge after raking. Drag it across the surface and watch for shadows—any shadow under the board means you've got a low spot that needs filling. This visual trick works better than relying on your eye alone, especially on larger lawns where small variations become more noticeable.
Watering Wisdom: That final 1-inch watering in Step 4 is your chance to check your work. If water pools in certain spots after 24 hours, you've got low areas that need more soil. Conversely, if water runs off quickly, you might have over-compacted. This is your quality control moment—don't skip it, even if you're eager to plant your grass.
Pro Tips for Prepare Ground For Lawn
- These quick strategies will help you prep your lawn soil faster and more effectively than ever before.
- Section Management: Working in those 4-foot squares isn't just about organization—it's about consistency.
- Clay Soil Hack: If you're dealing with that dense, sticky clay soil in Step 1, here's what nobody tells you—mix in some coarse sand (about 1 part sand to 3 parts soil) during your tilling.
Frequently asked questions
Got questions about prepping your lawn? You’re not alone—here are the most common ones, answered clearly so you can get started with confidence!
How long does it take to prepare soil for a lawn?
Preparing ground for a lawn typically takes 1–3 days, depending on the size of your yard and soil conditions. Leveling and amending soil (like adding compost or sand) can be done in a weekend, while heavy clay or rocky soil may require extra time for tilling or aeration. Plan ahead—rushing can lead to uneven grass growth!
Can I plant grass seed right after tilling?
No—wait 24–48 hours after tilling to let the soil settle. If you’re adding amendments (like compost or topsoil), wait 1–2 weeks to allow them to integrate. This prevents erosion and gives seeds a stable, nutrient-rich base for faster germination.
What’s the cheapest way to level uneven lawn soil?
For budget-friendly leveling, try these steps:
- Rake manually (for minor dips/bumps) with a stiff bow rake.
- Use a leveling board (a 2x4 scrap wood) to spot uneven areas.
- Fill low spots with topsoil or compost (cheaper than renting heavy equipment).
- Avoid over-tilling—it can create new low/high spots!
What’s the best time of year to prep soil for a lawn?
The ideal window is early spring (March–April) or early fall (September–October), when soil is workable but not frozen. Avoid extreme heat—prepping in summer can dry out amendments or stress new grass. Cool, moist conditions help amendments blend in and roots establish faster!
How do I fix hard, compacted soil before planting?
Compacted soil suffocates roots! Try this:
- Aerate with a core aerator (rent or buy) to create holes for air/water.
- Add organic matter (compost, peat moss, or coconut coir) to loosen texture.
- Top with a thin layer of sand (if clay-heavy) to improve drainage.
- Water deeply after amending to help particles settle.
Can I use a lawn roller instead of a plate compactor?
A lawn roller can help level soil, but it’s not ideal for compaction. If you use one:
- Fill it with water or sand (never concrete—it’s too heavy!).
- Roll in light passes to avoid creating ruts.
- Follow up with a plate compactor for better results.
Wrapping up and next steps
Preparing your ground for a lush, thriving lawn is all about patience, precision, and a little elbow grease—but trust us, it’s worth it! 🌱 By leveling the soil, removing debris, and amending it with the right nutrients, you’re setting the stage for a healthy, vibrant lawn that’ll be the envy of the neighborhood.
Remember, the key is consistency: whether you’re tackling a small patch or a whole yard, take your time to do it right.
Now that you’re armed with the know-how, it’s time to roll up those sleeves and get started! Start small, celebrate your progress, and soon you’ll be sipping lemonade on a perfect green carpet. Happy digging! 🌿