
Lawn
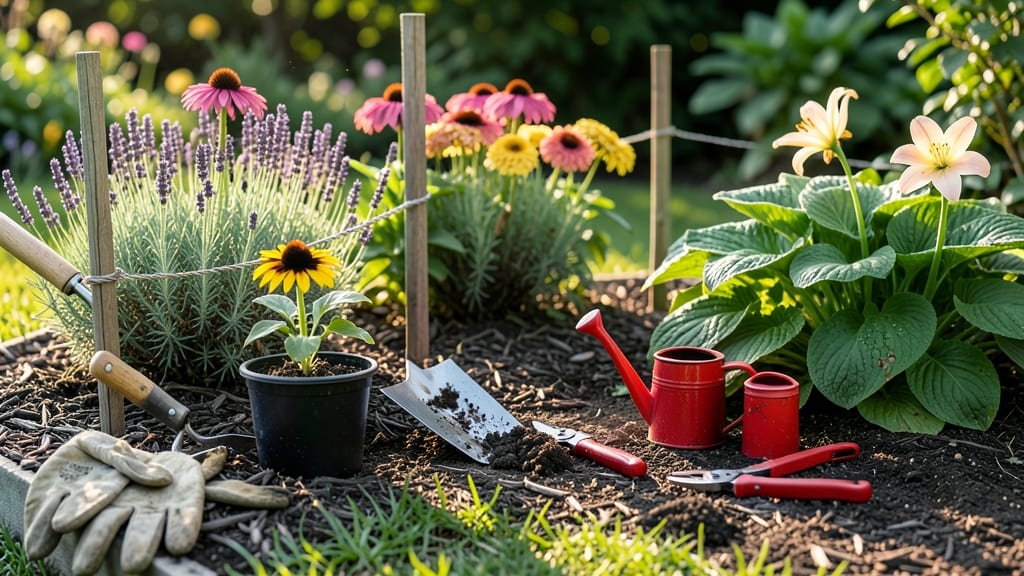
Transforming that stretch of grass into a thriving garden is easier than you think—especially when you start with the right plan. 🌱 I’ve turned three different lawns into lush gardens over the years, and the key always begins with assessing sunlight and soil.
What looks like an empty lawn now could be a fragrant flower bed, a productive vegetable patch, or a serene ornamental space by next summer. The process starts with simple prep: mark your design, test your soil, and gather tools like a shovel, wheelbarrow, and compost.
You don’t need fancy equipment—just the willingness to dig in (literally). Most lawn conversions take one weekend if you break it into manageable chunks, and the payoff is immediate: fewer mowing bills, more wildlife, and a space that reflects your style.
By the end, you’ll have a garden that feels like an extension of your home, not just a patch of dirt. Whether you dream of cottage charm, modern minimalism, or a bountiful edible landscape, the steps are the same—just the plants change.
Let’s get your design down on paper first, because that’s where every great garden begins.
Here’s the secret no one tells you: the best gardens start with one bold decision—like choosing a focal point (a fire pit, a tree, or a raised bed) to anchor your design.
Measure your space, sketch rough zones for sun-loving plants versus shade-tolerant ones, and leave room for paths or seating. My first garden failed because I ignored drainage—so always check how water pools after rain. You’ll save time and frustration by grouping plants with similar needs together.
Perennials like coneflowers thrive in full sun, while hostas prefer shade. For vegetables, prioritize 6+ hours of sunlight for tomatoes and peppers, but lettuce can handle partial shade. The soil? Amend it with compost before planting—your future self will thank you.
Don’t let perfection hold you back. My second garden looked messy for weeks until the plants filled in, and even then, I swapped out a few underperformers. The goal isn’t flawless—it’s functional. Start small if you’re overwhelmed: a single 4x8-foot bed is manageable, and you can always expand next year.
Think about maintenance too. Mulch saves time on weeding, drought-tolerant plants cut down on watering, and layered planting keeps color going all season. The best part? You’ll spend less time mowing and more time enjoying the results. Ready to sketch your first design?
📚 In This Guide
- What you need
- Instructions
- Tips and common mistakes
- Wrapping up and next steps
What you need
- ● Soil & Amendments: Topsoil (1-2 cubic yards, depending on lawn size)
- ● Compost (1-2 bags or a wheelbarrow full)
- ○ Garden soil mix (optional, for raised beds or specialty plants)
- ● Plants & Mulch: Perennials, shrubs, or flowers (quantity based on design plan)
- ● Mulch (2-3 bags, shredded hardwood or pine straw)
- ● Tools: Shovel or spade (for digging)
- ● Garden fork (for aerating soil)
- ● Wheelbarrow (for hauling materials)
- ● Pruners (for trimming plants)
- ● Rake (for leveling and clearing debris)
- ● Measuring tape (for layout planning)
- ● Garden hose with nozzle (for watering)
- ● Safety Gear: Work gloves (heavy-duty)
- ● Knee pads (for comfort)
- ● Safety glasses (if using power tools)
- ● String line & stakes (for marking garden beds)
- ● Edging tool (to define garden borders)
- ● Soil test kit (to check pH and nutrient levels)
- ● Drip irrigation system (for efficient watering)
- ● Decorative stones or pavers (for pathways or accents)
- ● Fertilizer (organic or synthetic, based on plant needs)
- ● Check your local climate and soil type—some plants thrive better in specific conditions!
- ● Sketch a rough layout first to avoid last-minute adjustments.
- ● If your lawn has weeds, consider a pre-emergent herbicide before planting.
Step-by-step instructions for transforming your lawn into a garden
Ready to swap grass for greens? Here's how to convert your lawn into a thriving garden—one section at a time.
🪴 Step 1: Plan and Mark Your Garden Layout
Start by sketching your design on paper or use stakes and string to outline beds in your yard. I like to map out sun exposure first—most vegetables need 6+ hours of direct sun, while herbs and leafy greens tolerate partial shade. Measure each section to ensure proper spacing for mature plants.
Label your zones with flags or spray paint if you're working with a large area. This prevents accidental mowing or weed whacking later. I mark paths between beds with stepping stones or mulch to keep soil compacted and weed-free. Remember, wider paths mean less garden space—aim for 2-3 feet wide if possible.
✂️ Step 2: Remove Grass and Prepare the Soil
Cut the grass in your chosen area as short as possible 1-2 weeks before digging. This weakens the roots and makes removal easier. Then, use a sharp spade to slice into the soil at 3-4 inch depths, working in small sections. I find a garden fork works best for prying up sod in chunks—don't worry about getting every root, just the majority.
Once the grass is removed, loosen the remaining soil with a tiller or broadfork. For compacted clay soil, I mix in 2-3 inches of compost to improve drainage and fertility. Test your soil's pH—most vegetables prefer 6.0-7.0. If your soil is heavy or poor, consider building raised beds instead of amending in place.
🌱 Step 3: Install Edging and Mulch
Use metal, plastic, or stone edging to define your garden beds and prevent grass from creeping back in. I prefer flexible metal edging because it contours to curves and lasts for years. Install it 1-2 inches deep along the outer edge of your beds, pressing firmly into the soil.
Cover the soil with 2-3 inches of mulch—wood chips, straw, or shredded leaves work well. This suppresses weeds, retains moisture, and keeps soil temperatures stable. Leave a 2-inch gap between mulch and plant stems to prevent rot. Water everything thoroughly after mulching to settle the material and encourage root growth.
☀️ Step 4: Plant Your Garden Sections
Start with perennials or slow-growing plants like asparagus and rhubarb in early spring. For annuals, follow the planting depth and spacing on seed packets or plant tags. I always plant taller varieties in the north side of beds to avoid shading smaller plants. Water deeply after planting to eliminate air pockets around roots.
Group plants with similar water needs together—this makes irrigation easier. For example, place tomatoes, peppers, and basil together since they all need consistent moisture. Avoid planting grass seeds in the paths between beds—opt for clover or low-growing ground covers instead to keep the area weed-free without mowing.
💧 Step 5: Establish a Watering System
Install drip irrigation or soaker hoses along the edges of your beds before plants get established. I run lines parallel to the bed edges, spacing emitters 12-18 inches apart depending on plant spacing. Set up a timer to water early in the morning for 15-30 minutes daily, adjusting as plants mature.
For hand-watering, use a hose with an adjustable nozzle to deliver water directly to the soil, not the leaves. This prevents fungal diseases and reduces evaporation. Mulch helps retain moisture, but check soil moisture weekly—stick your finger 1-2 inches deep. If it feels dry, it's time to water again.
Tips & tricks for perfect garden layouts
These simple strategies will help you transform your lawn into a thriving garden without the common pitfalls.
Sun Exposure Planning: Before marking your garden layout, spend a day observing your yard. Use a simple app or even a whiteboard to track sun patterns—most vegetables need those 6+ hours of direct sun, but some leafy greens and herbs can thrive in partial shade. I've seen people waste perfectly good garden space by not checking this first! Place sun-loving plants like tomatoes and peppers where they'll get full sun, while herbs like parsley and cilantro can handle a little afternoon shade.
Path Width Matters: Those 2-3 feet wide paths between beds aren't just decorative—they're functional. Narrower paths mean more garden space, but they can become muddy and difficult to navigate. I recommend 3 feet wide paths for comfort, especially if you'll be carrying watering cans or wheelbarrows. You can always narrow them later if you find yourself needing more planting space.
Soil Prep Shortcut: If your soil is particularly compacted or heavy, consider building raised beds instead of amending in place. This is especially helpful if you're dealing with clay soil that drains poorly. I've found that raised beds warm up faster in spring, give you better control over soil quality, and prevent soil-borne diseases from spreading. Just make sure to use untreated wood or line them with landscape fabric to prevent weeds from creeping in.
Mulch Application Tip: When applying that 2-3 inches of mulch, don't pile it directly against plant stems. Leave that 2-inch gap to prevent rot and pest issues. I like to create a little well around each plant when applying mulch, which helps direct water right to the roots. Also, consider using different mulch types—wood chips for paths and straw around vegetables—to maximize both weed suppression and moisture retention.
Pro Tips for Turn A Lawn Into A Garden
- These simple strategies will help you transform your lawn into a thriving garden without the common pitfalls.
- Sun Exposure Planning: Before marking your garden layout, spend a day observing your yard.
- Path Width Matters: Those 2-3 feet wide paths between beds aren't just decorative—they're functional.
Frequently asked questions
Got questions about transforming your lawn into a lush garden? You’re not alone! Here are some of the most common queries—and their answers—to help you get started with confidence.
What’s the best time of year to start this project?
The ideal time depends on your climate, but spring or early fall are the best choices. These seasons offer mild weather, making it easier on plants and you! Avoid extreme heat (summer) or freezing temps (winter), which can stress new plants or soil.
How much does it cost to convert a lawn into a garden?
Costs vary widely—$500 to $5,000+—depending on size, materials, and whether you DIY or hire pros. Basic gardens (vegetables, flowers) lean toward the lower end, while elaborate designs with hardscaping or irrigation systems can climb higher. Pro tip: Start small to save money and test what works!
Will turning my lawn into a garden attract pests like insects or rodents?
Not necessarily! A diverse, healthy garden with native plants and proper spacing can deter pests. However, some critters (like squirrels or aphids) may visit. Use organic pest control (neem oil, companion planting) or barriers to keep things in check without harsh chemicals.
Can I still have a garden if my lawn has a lot of weeds?
Weeds are a normal part of the process. Smother them first with cardboard or mulch, then till or remove them before planting. For stubborn weeds, a vinegar spray (mix 1 gallon vinegar + 1 cup dish soap) works as a natural herbicide. Patience is key—your garden will thrive once the weeds are gone!
How long does it take to see results after planting?
Results vary by plant type:
- Fast growers: Leafy greens (3–4 weeks), herbs (4–6 weeks).
- Medium-term: Flowers (6–12 weeks), shrubs (1–2 seasons).
- Long-term: Perennials or trees (1–3 years for full maturity).
Consistent watering and care speed up the process. Pro tip: Take progress photos—they’re surprisingly motivating!
Wrapping up and next steps
Transforming your lawn into a thriving garden is a rewarding journey that combines creativity, patience, and a little elbow grease! 🌱 By planning your design, testing your soil, choosing the right plants, and maintaining your space, you’ve set the stage for a beautiful and functional outdoor retreat.
The key takeaway? Start small, stay consistent, and let your garden grow with you.
Now that you’re armed with the know-how, take the next step: pick a corner of your lawn and begin! Whether you’re planting flowers, veggies, or a cozy seating area, every small action brings you closer to a lush, vibrant garden. Happy gardening—your outdoor oasis awaits! 🌸